How To Create a Sale Contract
Sale Contract
Sale Contract creation is the second process in apparel connect after cost sheet is created and approved. Once the sale contract is provided by the buyer, user needs to enter that in Apparel Connect. The Sale Contract is different from Sale Order as one sale contract can have multiple styles, deliveries, customer reference POs and destinations.
To create new Sale Contract user needs to log in and go to Marketing and Sales menu. The different screens to create a New Sale Contract are as follows:
Steps to follow:
- Go to the Approved style cost sheet
- Click on Next Action
- Generate Sale Contract
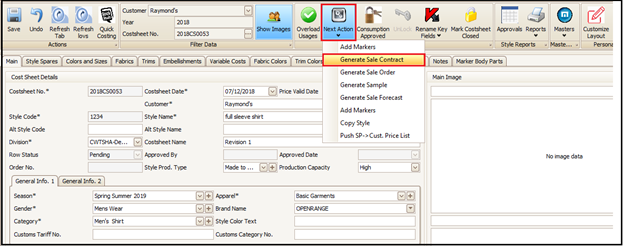
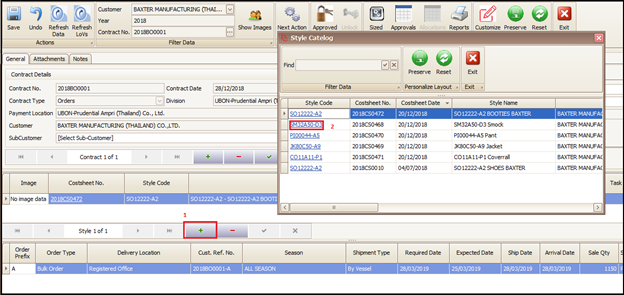
- As user clicks on Generate Sale Contract below pop up window will open and user have to fill the information about customer reference number, delivery location, required date, ship date etc. and click on proceed assortments to fill in the quantity break up (color/size wise).
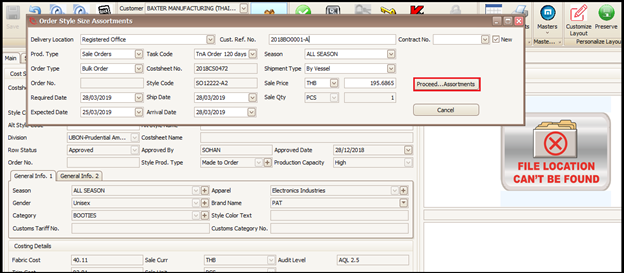
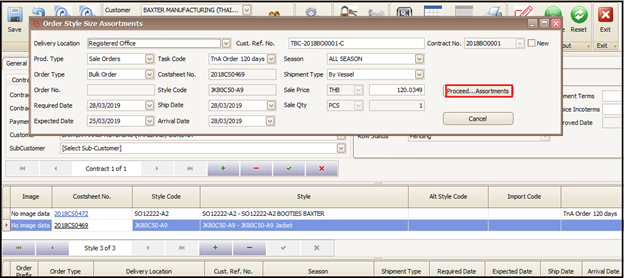
- As user clicks on Proceed Assortments the below screen will open. In this screen user have to enter the color size wise quantity as provided by the customer and then click OK, once user is assured if the entered quantity is correct. User can click on ‘Breakdowns’ to add more breakdowns of quantity as per the customer PO.
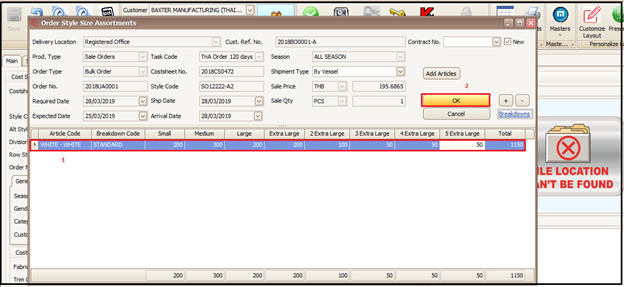
- Once user clicks on OK in above screen the below screen will open and if user wants to add one more break up if it is for same style or same buyer PO then user needs to click on + (green plus) as highlighted below and add the quantity breakdown as per earlier process explained in screens 1b and 1c. If user wants to delete the added customer PO then they can user click on - red minus and thus selected customer PO row will be deleted.
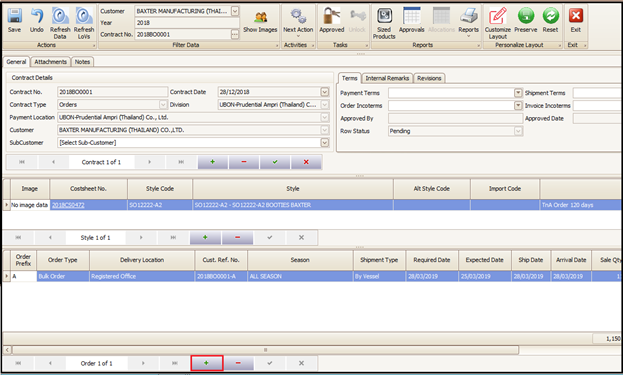
- If the same customer contract/PO includes multiple styles in that case user will need to click on + (green plus) of the above section highlighted in below screen. Then user will click on the style for which quantity breakdown needs to be added.
- Once user clicks on style code of desired style the below window will open and user can fill up the delivery related information and quantities as per detailed in screen 1b and 1c. The process remains same.
- Once user is done with color size quantity breakdown below screen will open and user can see the quantities of different styles by selecting them in above section of the screen as highlighted below. The selected style breakdown will be shown in section below to that.
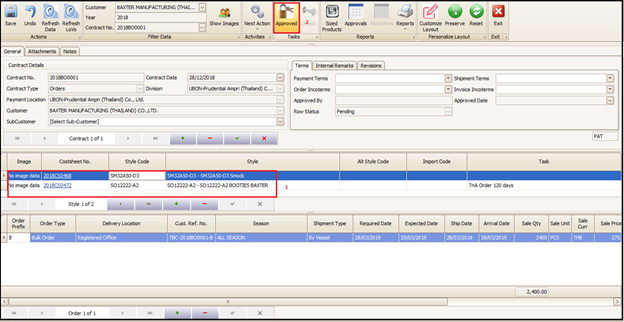
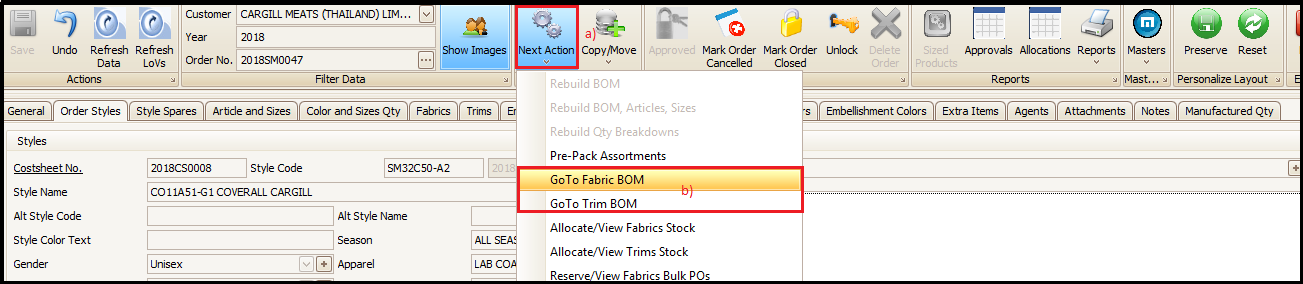
- Now any authorized user can click on ‘Approve’ to approve the sale contract and thus BOM will be created. User can see respective(selected) fabric and trim BOM by clicking on next action.
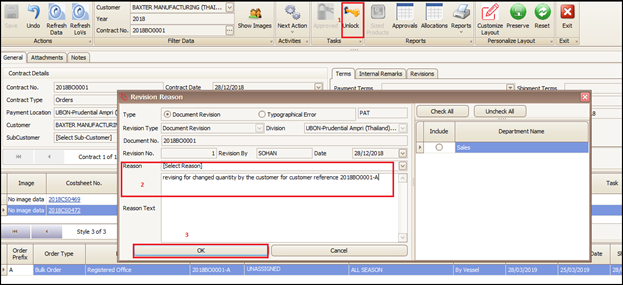
- User will have to go to respective sale contract and open it by clicking on it. Then after user can click on the ‘Unlock Button’ and put the reason for revision (remarks) and then click on OK. After that users can make whatever changes (quantity breakdown, delivery location, date, customer PO number, add or delete etc.) they want and approve it again as per earlier screen.
Created with the Personal Edition of HelpNDoc: Easy EPub and documentation editor