How To Create a Raw Material
Apparel-Connect calls this as Products
Go to Masters (Sales) > Products (these are in fact raw materials. In Apparel-Connect language a product is a material and style is a garment):
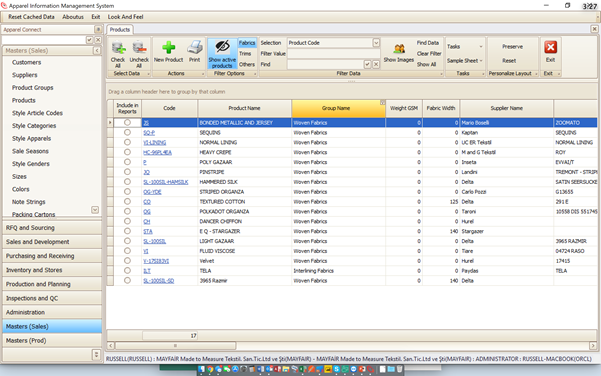
- Make sure the product doesn't already exist. Check to make sure the fabrics only/trim only filter is turned off (on = blue). If it really isn’t there then hit the big green + (new product). That takes you to the screen shown below.
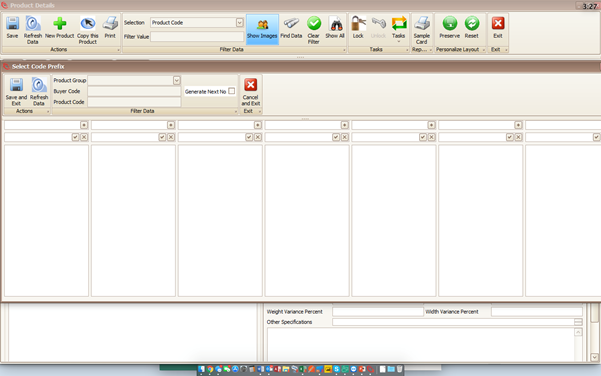
- Select the product group you want to add the product to (button, zip, woven fabric etc).
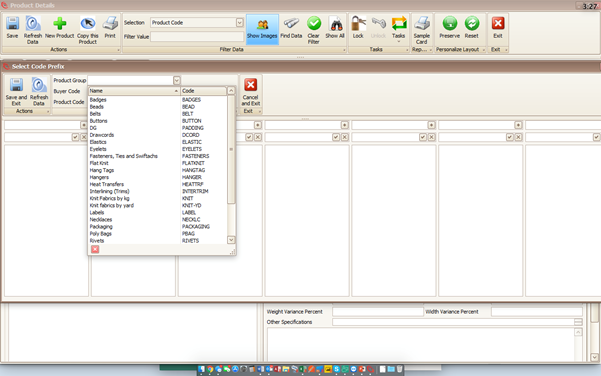
- You will be taken to the screen shown below.
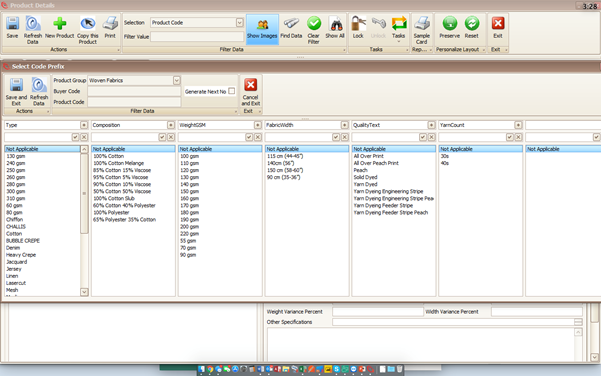
- This screen is designed to make sure there is only one version of each material in the system. For example, you can't have two materials called 'heavy crepe'. You need to distinguish between them by defining the different compositions,widths, finishes, etc.
- Select the type of product and anything else that makes this product unique and hit save and exit. This auto generates the product code.
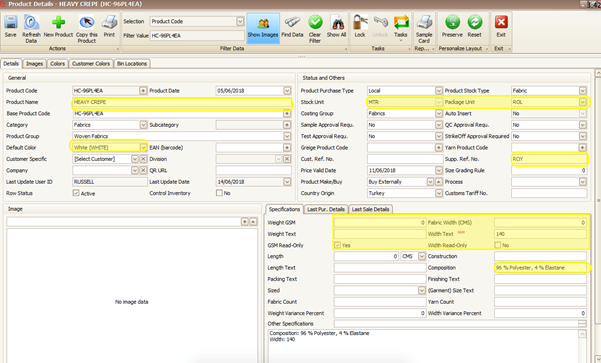
- This screen is complex but you only need to fill out the highlighted fields.
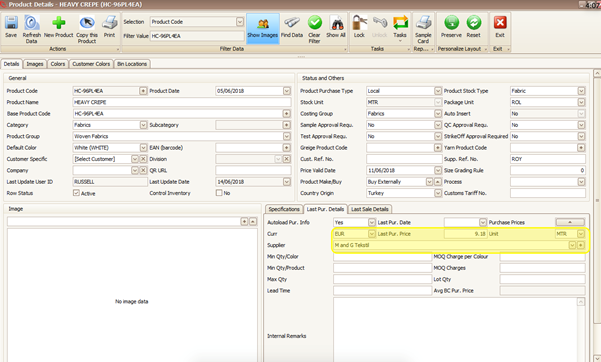
- Select Last Purchase Details and fill out the cost and other highlighted fields.
- Add Image from the network drive. Look for label Image and press "+" button to proceed.
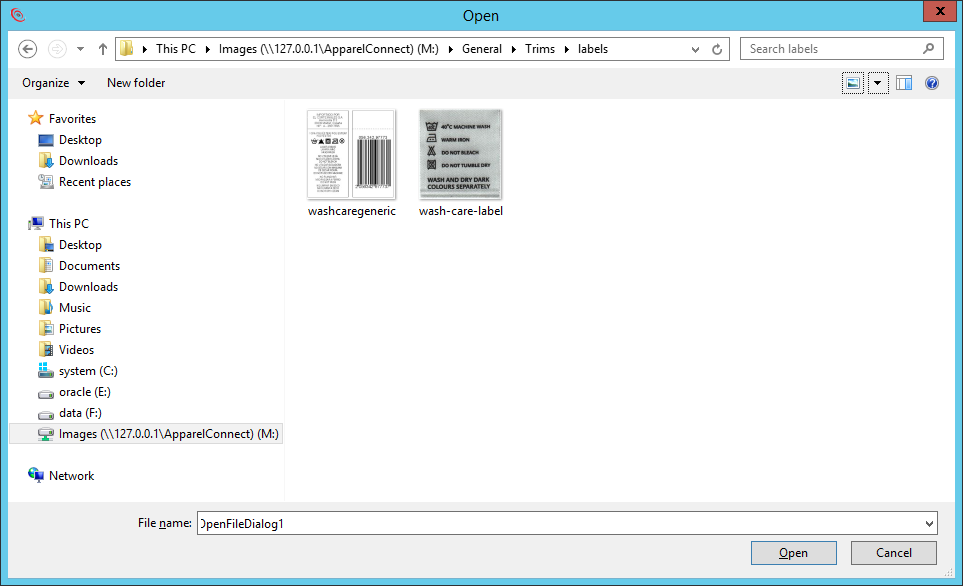
- You could also paste an image directly into the ERP. The triangle button is for using copy and paste to put your images directly into the system.
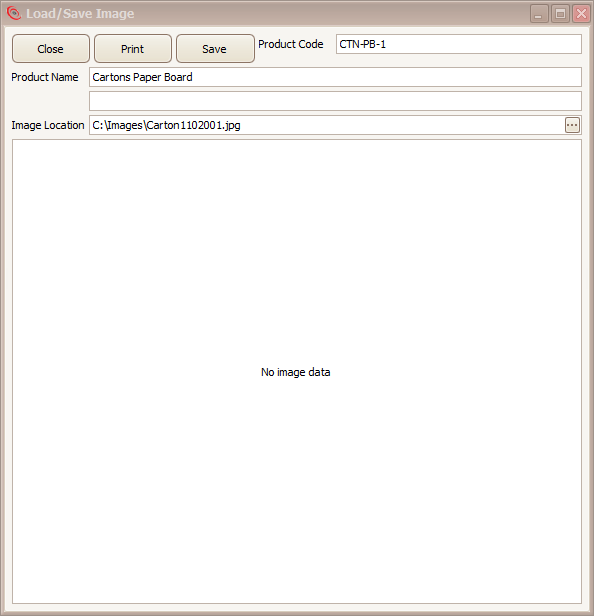
Image: Add the trim image from the trim-pack or tech-pack. Make sure the image is clear and saved on the ERP drive. Please note, if there is no shareable drives on your computer, ask IT to set it up for you. The actual drive letter may be different at your company – if in doubt check with the IT department.
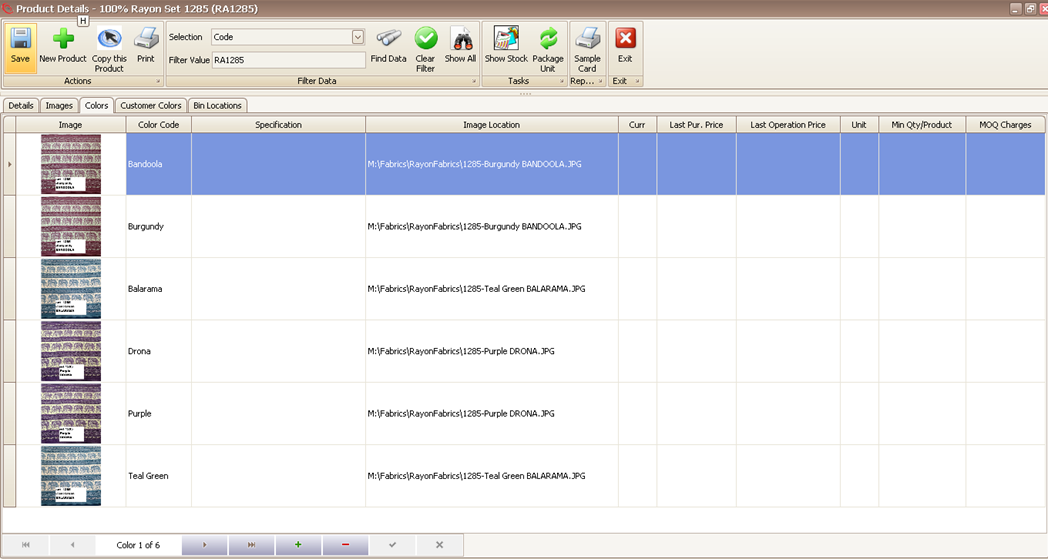
- The next step is to add any special color prices, MOQs, or specifications. Move to third tab titled 'Colors'.
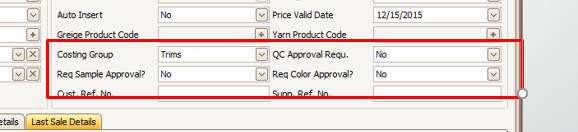
- Next, if this material requires approval from the buyer, it can be marked here (as shown below). Also mark if you want to track separate color approval and QC/lab test approvals, etc.
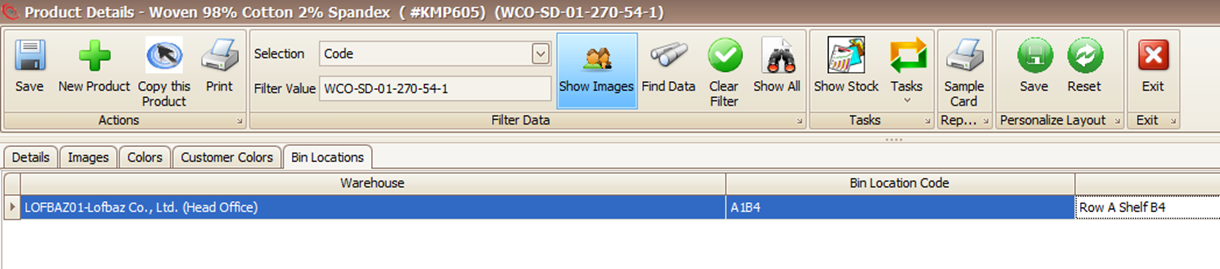
- Next, enter the warehouse bin location for this item. This will be printed on pick lists and stock labels.
Of course the more data you put in the better the system will be.
- The next step is to check the supplier color to make sure it exists in the system.
- Remember to Add Opening Balances, if new to Apparel-Connect. Refer: Add Opening Balances
Created with the Personal Edition of HelpNDoc: Easily create CHM Help documents